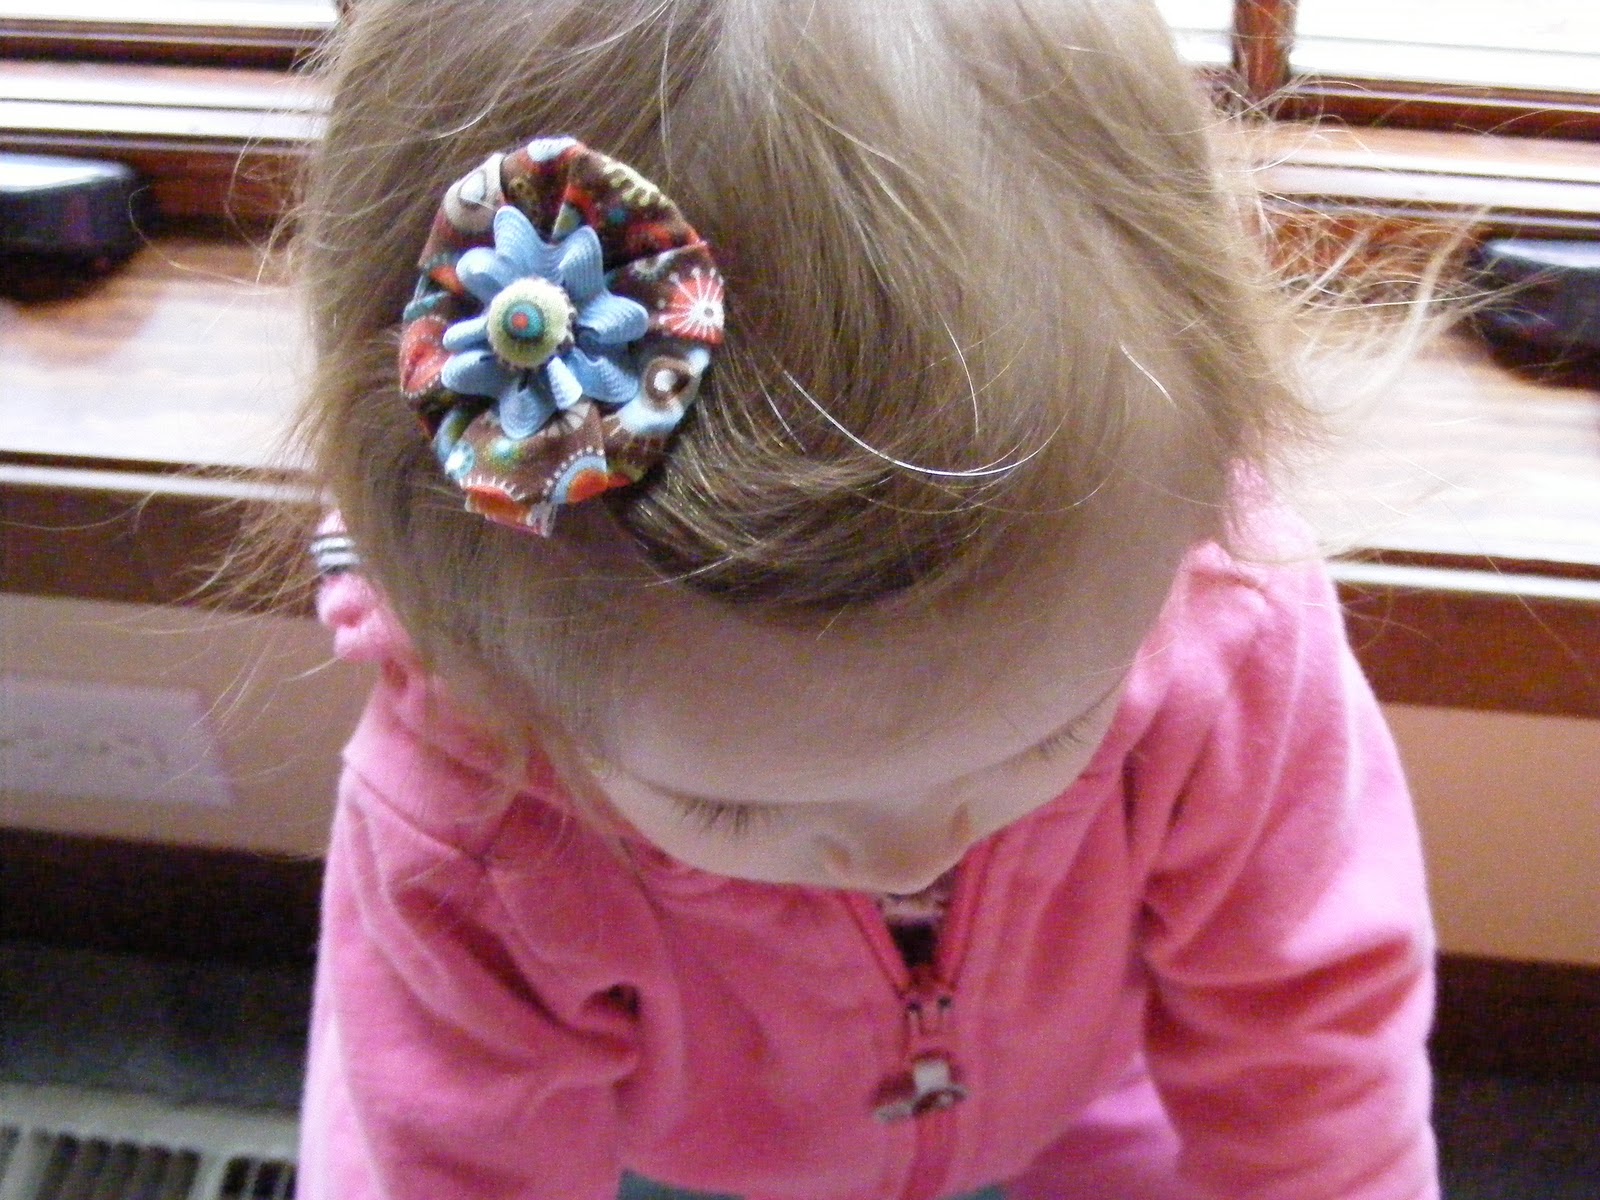
More Faux Covered Button Flowers (Made into Kid's Clippies)
Getting all lonesome holed up in your sewing room? This little beauty (the clippie, that is :o) was made with the same technique as the Flower Pin. Not only is it easy, you don't need a sewing machine! Hurray, you can socialize with your husband while you make it! Just gather up the following supplies and park yourself down next to your nearest and dearest:
Supplies needed:
- fabric scraps
- matching thread
- Ric Rac (optional)
- small button (a rounded top button works best)
- coin size tuft of fiberfill
- needle
- scissors
- ribbon spool or something a similar size to use for a circle template
- pencil
First off, you'll need to cut out two fabric circles, a big one and a little one. The big circle will become the top of the flower. The little circle will become the bottom of the flower. You can choose any size circles you want as long as the bigger circle has a diameter at least 1.25 inches larger than the small circle.
I made the big circle first by tracing around a ribbon spool. Bonus for using a ribbon spool template - you can see the pattern through the hole in the middle! Make sure the pattern you like is smack dab in the middle of your circle because it will be the "button cover."

Then, I cut another smaller circle about an 1.5 inches in diameter. (Sorry, I forgot to take a pic.)
I took the larger fabric circle and hand sewed a small circular gathering stitch near the center. I left the thread ends loose (no knots and at least a couple of inches long). Pulling on them will create the covered button. Here's a pic with the button on it, so that you can see how big to make your gathering circle.

Like in the above picture, I put my tuft of fiberfill in the middle of the gathering stitches and then plopped that button (upside down) on top of it. FYI, I used a ratty old covered button, which is why it looks kinda funny. You can use any kind of button you want. If it is a very flat button, you might want to add a tuft more fiberfill.

Now, holding the button in place with one hand, I pulled the threads with my other hand in order to gather the fabric around the button.

Tied the thread off like so.

Are you with me? You can do this! I sewed another gathering stitch around the outside of the big circle.

BTW, the plan here is to gather the big fabric circle and attach it to the small circle. Once I gathered up the large circle, I pinned it (right sides together) to the small circle. This is what it looked like from the top.

And here is a picture of what it looks like from the bottom.

I hand stitched the two circles together. If you are following along, don't sew the full circle! Leave an opening about 3/4 inch long so that you can turn the fabric right side out - like so:


Once turned right side out, I sewed the hole shut (above). So much work for such a little flower!
For good measure, I attached the top and bottom circle together with a few stitches hidden under the button. This will keep the flower flat in the middle and a little bit poofy on the sides.

At this point, if I wanted to add another layer of 'petals' like the flower pin, I'd repeat the process with another set of even larger circles (skipping all of the button related steps). Wouldn't it be super cure to do another color and pattern for the second layer? But, really, we've already done enough work! That being said, I couldn't resist adding more awesomeness with - the queen of all awesomeness - Ric Rac.

Mine came out of the bin. I tacked it down at the tip of each 'v' and hid the stitches under the button. Then I attached it to a hair clippie and put it on my youngest' head. Where it stayed...for a very short period of time. Have you ever seen anything so darn cute?

Comments
Post a Comment